I was lucky enough to pattern test Jennifer Lauren Handmade’s Juniper Cardigan. Now that I have an overlocker, 2018 seems to be my year of sewing knits so this project came at a perfect time!

The Fabric
I wanted fabric that would go with some of my dresses for work, but also something with a bit of weight – my office gets pretty cold from the air conditioning so I always need layers to keep warm! I ordered some jersey from Minerva crafts but it ended up way too light weight – the importance of swatches is clear! Oh well, it’s destined to be another Ebony Tee!
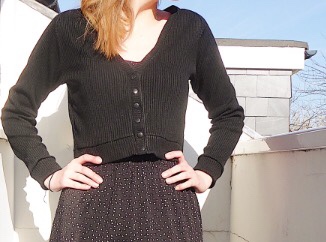
I ended up visiting the fabric shop local to my parents – Madjak – and found a black rib knit which suited my needs perfectly. The pattern recommends a fabric with a minimum of 30% stretch. As a newbie knit sewist, I honestly had no idea how to work out how much stretch a fabric has, and my local fabric shop didn’t say anything about it on their labels. (The Megan Nielsen blog post on this is super helpful btw). One thing I like about the Ebony Tee pattern from Closet Case Patterns is that there’s a line to indicate how far a 4 inch piece of fabric should stretch to be suitable for use of the pattern.
The Pattern
I opted to order the A0 version to be printed by netprinter.com; it wasn’t many pages of A4 but at the time, I just didn’t have time for cutting and sticking. I must say, after this and my Rumana coat, I’m completed converted to copyshop printing – it really is a wonder for the time poor sewist!

The Make
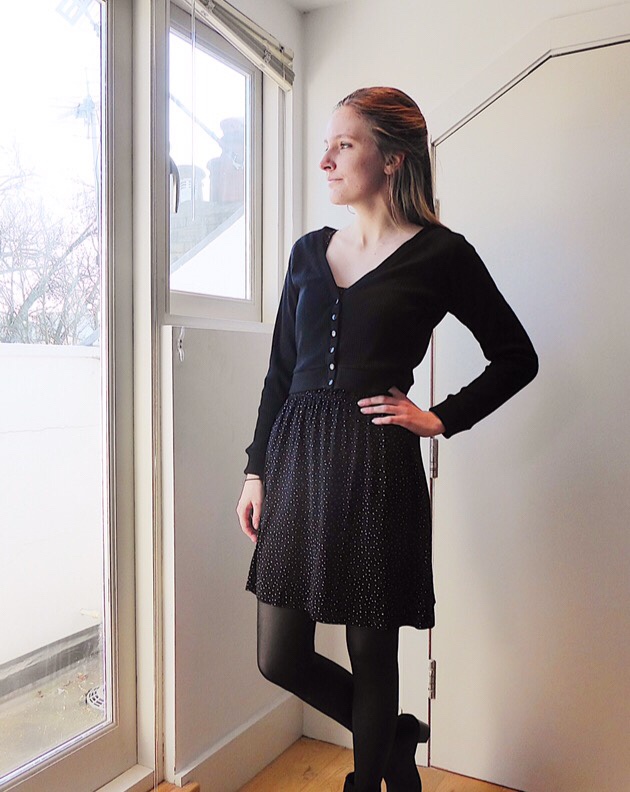
I opted for View 1, a cropped cardigan with long sleeves. I made a straight size 8, which worked out pretty well; technically my hip measurement wouldn’t have quite fitted for a size 8, but since it was cropped I didn’t think it would be an issue.

When cutting out, I used my rotary cutter which was a dream. What would have been useful in the instructions is a list of what the letters on the pattern pieces correspond to – i.e. A is the front, K is long sleeve, B is the back etc.
The instructions are really good and I found them very easy to follow. I think what is key to remember is to cut your notches on the fabric, especially when you sew the sleeves to the front and back of the cardigan – they’re invaluable at that point.
I sewed the whole cardigan (apart from some top-stitching around the neckband) on my overlocker, and it was really simple to do. The instructions don’t talk explicitly about overlocking or serging as a method of sewing the whole cardigan, but it’s relatively easy to do – especially as there’s no hem as such, just cuffs.

One thing I didn’t like about my cardigan is the slight stretching around the neckband, but that’s entirely my fault rather than the pattern’s – it’s more to do with my (lack of) knowledge on knits! Hopefully that will improve with time!
A final plus with this pattern is that it taught me a new skill – snaps! I’ve never used snaps before but I ordered a kit off the Internet and I was off! They were relatively easy to use, it was just a little tricky to get the snap through my thick fabric initially – I got there in the end though.

Verdict
This pattern is really sweet, and it’s easy and quick to sew. I think next time I’d be tempted to size down to a 6, because it’s a tiny bit loose on me but that could be to do with the amount of stretch in my fabric. It’s not drastically big though and I like a tight fitting cardigan, just personal preference!
Overall, the pattern is great – especially for newbie knit sewists like me. Sure I’ve been sewing wovens for years and years but knits are a whole other ballgame!

Leave a comment